The scope of this project was to complete a site scan of a specific area of pipe run. Due to the difficulty and limited access to measure the pipework, tracing the pipe run and measuring the surrounding equipment using the conventional measuring methods would be inefficient and costly.
We found that for this project, 3D scanning was the most accurate and time effective method to obtain the necessary data. There were a few major factors that needed attention when deciding between scanning and conventional measuring methods.
These are:
- Remote location;
- Time constrains onsite to capture the data;
- Levels of accuracy.
One major advantage when using scan data is the ability to review and measure the point cloud data off-site at a later date. This eliminates concerns about missing measurements done conventionally often the case when under strict time constraints.
In addition, the client is able to change the location and details of any part of the pipe run and be confident the alterations of the replacement spool will fit around existing structure. This eliminates any expensive and inconvenient onsite works especially when a site shutdown is involved.
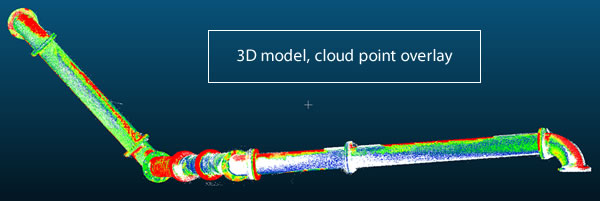
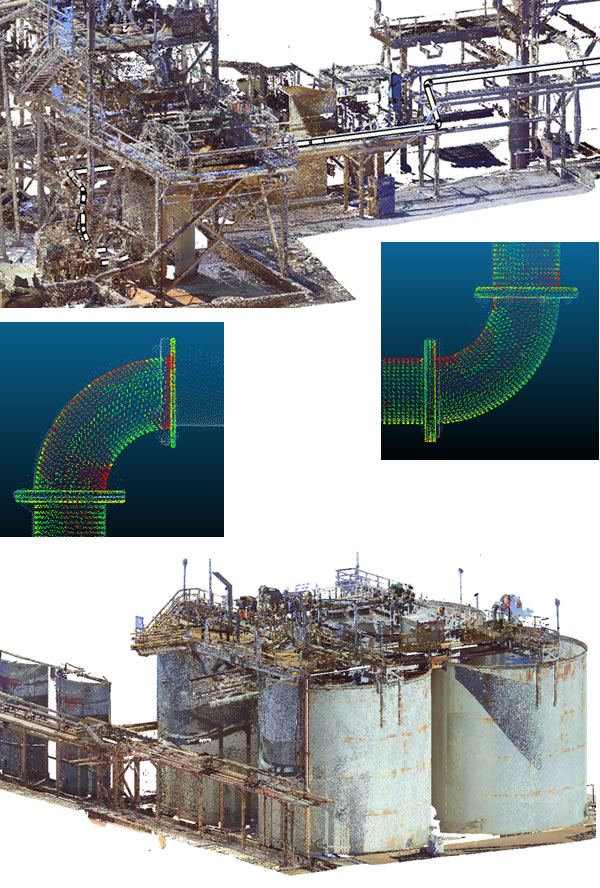
Below are a few examples of scan data overlaid onto a 3D model. We can verify that the scan data and 3D model are within an allowable tolerance and thus avoid any nasty surprises when installing.
Existing piping installed onsite with a 3D model overlay of the replacement spools;
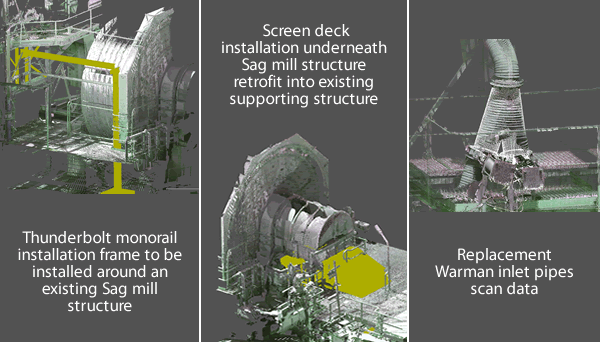
Below are a few more examples of the ways 3D scanning can be used to incorporate new equipment into an existing structure and ensure the fit within the allowable tolerance for the task.


